How to Transcribe Video Files Locally on Mac (No Upload Required)
Step-by-step guide to transcribing video files offline on your Mac using local AI. Extract audio and generate accurate transcripts without uploading anywhere.

How to Transcribe Video Files Locally on Mac (No Upload Required)
Video files contain valuable spoken content—meeting recordings, interviews, lectures, podcasts, webinars—but searching through hours of footage to find specific moments is impractical. Transcription solves this, turning audio into searchable text.
The traditional approach requires uploading video files to cloud transcription services. For a 500MB video file, that means waiting through a 5-10 minute upload, processing time, then downloading results. If the video contains confidential content—internal company meetings, client calls, unreleased interviews—you’re trusting that cloud service with sensitive data.
Local transcription eliminates these issues. Process videos entirely on your Mac without uploads, subscriptions, or privacy compromises. Here’s the complete workflow.
Why Transcribe Videos Locally?
Running video transcription on-device delivers multiple advantages over cloud services:
Privacy Without Compromise
When you transcribe locally, video files never leave your Mac’s SSD. No uploads to third-party servers means:
- Confidential business meetings stay confidential
- Client videos remain under your sole control
- Personal recordings don’t enter corporate databases
- No risk of data breaches exposing your content
For professionals bound by NDAs, attorney-client privilege, HIPAA compliance, or journalistic source protection, local transcription isn’t optional—it’s required.
Speed and Efficiency
Cloud transcription workflows include significant overhead:
- Upload time (5-15 minutes for large videos)
- Queue wait time (variable)
- Processing time (2-5x realtime)
- Download transcript (seconds)
Local transcription skips steps 1, 2, and 4 entirely. A 30-minute video might take 8-10 minutes to transcribe on an M2 Mac—total workflow time. The cloud equivalent could take 20-30 minutes including upload/download.
No File Size Limits
Cloud services impose upload limits—typically 2GB per file. Longer videos at high resolution quickly exceed this. Local transcription has no such constraints. Process 10GB video files if your Mac has storage space.
Works Completely Offline
Transcribe on flights, in remote locations, in secure facilities without internet access, or during internet outages. Your transcription workflow never depends on connectivity.
Zero Marginal Cost for Transcription
Cloud video transcription costs add up quickly:
- Rev.com: $1.50/minute = $90/hour of video
- Otter.ai: limited minutes, then $0.17-0.25/minute overages
- Descript: $24/month for 10 hours, $5/hour after
Local transcription has zero per-API-call cost. For video files under 10 minutes, the free tier provides unlimited transcriptions. For longer video files, MinuteAI Pro ($7.99/month, $69.99/year, or $99.99 one-time) removes all length restrictions.
Note: Free tier supports audio/video files under 10 minutes. For longer files, MinuteAI Pro ($7.99/month, $69.99/year, or $99.99 one-time) is required.
For comprehensive background on local AI advantages, see our guide to running AI locally on Mac.
Supported Video Formats
Modern local transcription tools handle virtually all common video formats by extracting the audio track automatically:
Fully Supported:
- MP4 – The most common format (iPhone recordings, screen captures, downloads)
- MOV – Apple’s native format (QuickTime, Final Cut exports)
- AVI – Legacy Windows format
- MKV – Open format popular for high-quality video
- WebM – Web video format (Google Meet recordings)
- M4V – iTunes/Apple TV format
- FLV – Flash video (older web videos)
Audio Extraction Process:
Local AI transcription apps extract the audio track from video containers, convert to compatible formats (typically WAV or PCM), then run transcription. This happens automatically—you just import the video file.
Codec Compatibility:
Most tools support standard audio codecs:
- AAC (most common in MP4/MOV)
- MP3 (compressed audio)
- PCM/WAV (uncompressed)
- Opus (modern codec in WebM)
If you encounter an exotic codec, free tools like HandBrake can re-encode videos to standard MP4/AAC format in minutes.
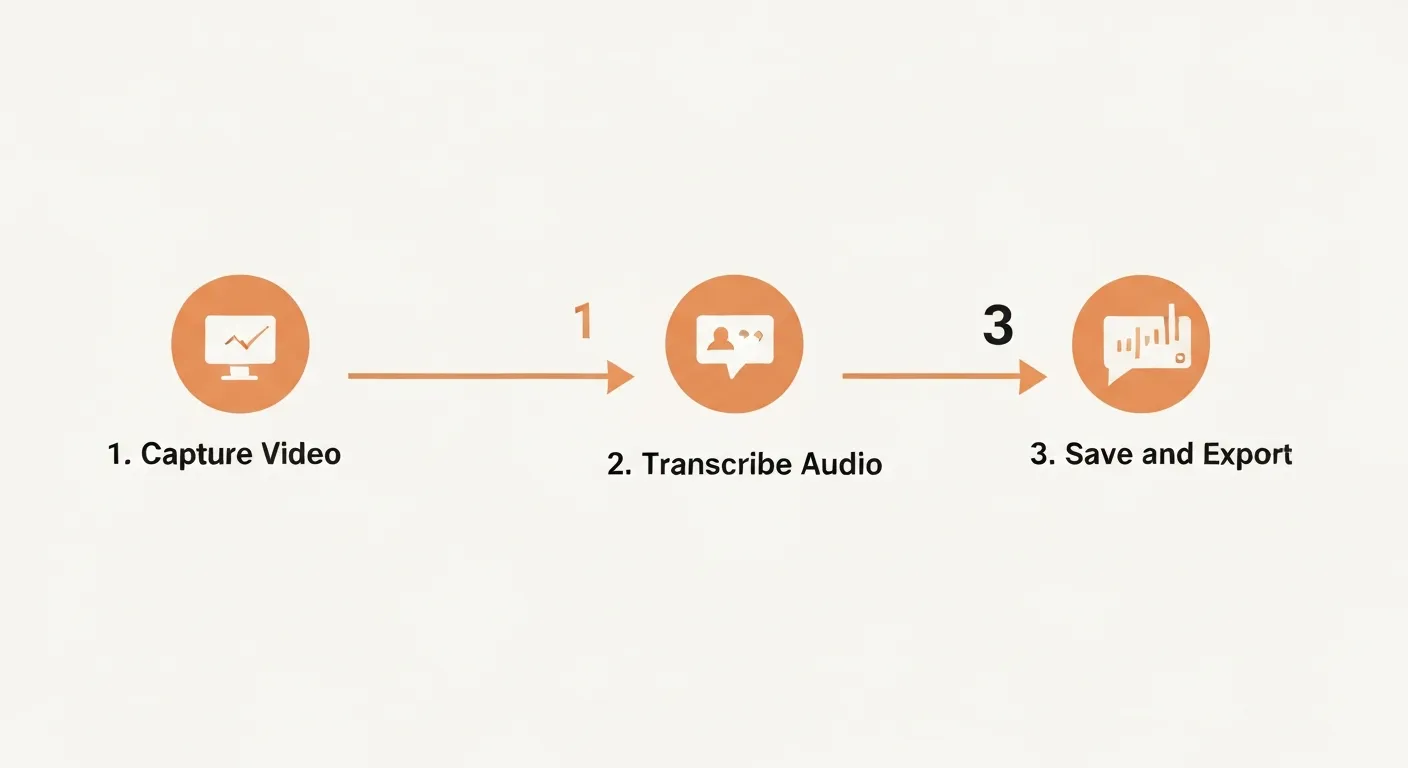
Step-by-Step: Transcribing a Video File
The easiest local transcription workflow uses MinuteAI, a native Mac app optimized for Apple Silicon with built-in local AI engines.
Prerequisites
- Mac with Apple Silicon (M1, M2, M3, or newer)
- macOS 13.0 or later
- At least 8GB RAM (16GB+ recommended for large videos)
- 5-10GB free storage for AI models
Complete Workflow
Step 1: Install MinuteAI
Download from the official website. It’s a standard Mac app—just drag to Applications folder and launch.
Step 2: Import Your Video File
Three methods:
- Drag and drop the video file directly into MinuteAI window
- File menu → Open → select video file
- Right-click video file in Finder → Open With → MinuteAI
The app automatically detects the video format and prepares for transcription.
Step 3: Select Your Transcription Engine
MinuteAI offers four local AI engines (Settings → Transcription Engine):
- WhisperKit – Best accuracy for most content. Supports 99 languages. Choose “medium” model for balance of speed and accuracy.
- FluidAudio – Fastest processing (50× faster than WhisperKit). Best for real-time or when speed matters more than maximum accuracy. Supports 55 languages.
- Apple Speech Analyzer – Instant results for clear English audio. Supports 45+ languages.
- OpenAI Whisper API (optional) – Cloud-based, highest accuracy. Requires API key and internet connection.
For typical meeting or interview videos, WhisperKit medium model provides excellent results.
Step 4: Configure Options (Optional)
- Language: Auto-detect works well, but specifying language improves accuracy
- Timestamps: Enable for word-level timing (useful for subtitle generation)
- Speaker Detection: Limited on local models, but some apps offer basic diarization
Step 5: Start Transcription
Click “Transcribe” button. Processing happens entirely on your Mac—monitor progress in the app.
Expected processing time:
- M1 Mac: ~3-4x realtime (30-min video = 10-12 minutes)
- M2 Mac: ~4-5x realtime (30-min video = 6-8 minutes)
- M3 Mac: ~5-6x realtime (30-min video = 5-6 minutes)
Processing speed varies by hardware and model size.
Your Mac remains usable during transcription—work on other tasks while processing continues in background.
Step 6: Review and Edit Transcript
MinuteAI displays the transcript with timestamps. Review for accuracy:
- Technical terms may need correction
- Proper nouns (names, companies) sometimes require editing
- Background noise can cause spurious words
Make inline edits directly in the app.
Step 7: Export Your Transcript
Multiple export formats:
- Plain Text (.txt) – Simple, unformatted transcript
- Markdown (.md) – Formatted with headers and structure
- SRT Subtitles (.srt) – Timestamped for video editing
- VTT (.vtt) – Web video subtitle format
- Copy to Clipboard – Paste directly into notes, documents, or CMS
For subtitle-specific workflows, see our guide on extracting subtitles offline.
Tips for Better Video Transcription Accuracy
Local AI models are remarkably accurate, but these optimizations improve results:
Choose the Right Model Size
Whisper models come in multiple sizes:
- Tiny (150MB) – Fast but less accurate, ~10-15% word error rate
- Small (500MB) – Good balance, ~5-8% error rate
- Medium (1.5GB) – Excellent accuracy, ~3-5% error rate
- Large (3GB) – Best accuracy, ~2-4% error rate
For most videos, medium model provides the sweet spot. Only use large for critical transcription where accuracy is paramount.
Handle Multi-Speaker Content
Local AI models struggle with speaker identification (diarization). Best practices:
- For interviews, note speaker changes manually during review
- Consider cloud APIs if automatic speaker detection is essential
- Some local tools offer basic speaker separation—test before committing
Manage Noisy Audio
Background noise, echo, and overlapping speech reduce accuracy. Improve results:
- Use video editing software to isolate cleaner audio segments
- Apply noise reduction filters before transcription (Audacity, iZotope RX)
- For extremely noisy videos, expect 10-20% more errors
Optimize for Technical Content
Medical, legal, and technical jargon challenges AI models. Help the system:
- Specify the correct language/dialect
- Use larger models (medium or large) for specialized vocabulary
- Create a custom dictionary in some apps to prioritize domain terms
- Plan for manual review of technical terms post-transcription
Batch Processing Multiple Videos
If you have dozens of videos to transcribe:
- MinuteAI Pro offers unlimited batch processing (drop multiple files, walk away)
- Alternatively, use command-line tools like whisper.cpp with shell scripts
- Process overnight to maximize M-series Mac’s efficiency without interrupting your workday
Transcribe YouTube Videos Locally
YouTube videos can also be transcribed locally with a small workaround—download first, then transcribe.
Download YouTube Videos:
Use free tools like yt-dlp (command-line) or 4K Video Downloader (GUI):
# Install yt-dlp with Homebrew
brew install yt-dlp

# Download video
yt-dlp -f "bestvideo[ext=mp4]+bestaudio[ext=m4a]/best[ext=mp4]" "https://youtube.com/watch?v=VIDEO_ID"
This downloads the video as MP4 to your current directory.
Then Transcribe Locally:
Import the downloaded MP4 into MinuteAI or your preferred local transcription tool. Process exactly like any other video file.
Legal Note: Only download videos you have permission to download. Respect copyright and YouTube’s Terms of Service.
Real-World Use Cases
Local video transcription solves practical problems across industries:
Content Creators
- Transcribe podcast video recordings for show notes and blog posts
- Generate YouTube video descriptions from transcript excerpts
- Create searchable archives of video content
Researchers and Academics
- Transcribe interview recordings for qualitative research
- Convert lecture videos to searchable text for study guides
- Process focus group videos without privacy concerns
Legal Professionals
- Transcribe deposition videos while maintaining attorney-client privilege
- Process courtroom recordings for case preparation
- Create searchable databases of witness interviews
Corporate Teams
- Transcribe internal meeting recordings for distribution
- Process webinar recordings for documentation
- Convert training videos to text-based knowledge base articles
In every case, local transcription provides privacy, cost savings, and workflow independence from cloud services.

Get Started with Local Video Transcription
Transcribing video files locally on your Mac is faster, more private, and more cost-effective than cloud alternatives. With Apple Silicon’s Neural Engine and optimized local AI frameworks, you get cloud-quality results without cloud risks.
Download MinuteAI to start transcribing video files today. Free for videos under 10 minutes, Pro for longer files. No uploads, no privacy compromises—just your video files and your Mac.
For related workflows, explore our guides on running AI locally on Mac and extracting subtitles offline.
Try MinuteAI Free on Mac
Privacy-first AI transcription running entirely on your device. No uploads, no subscriptions required to start.
Download for MacRelated Articles
MacWhisper vs MinuteAI: Which Local Transcription App Is Better?
Detailed comparison of MacWhisper and MinuteAI for local AI transcription on Mac. Features, pricing, engines, OCR, and privacy compared side-by-side.
Use CasesPrivate AI Workflow for Journalists: Protect Sources with Local Transcription
How journalists use local AI transcription to protect confidential sources. Record, transcribe, and analyze interviews without any cloud exposure.
WorkflowsAnalyze YouTube Videos Locally: Transcribe & Summarize Without Cloud APIs
Download and analyze YouTube videos on your Mac using local AI. Get transcripts, summaries, and key points without sending data to cloud services.